Week 10 - Rounded Edge Shader, Textures, Piping, Engine Work
- p15221234
- Mar 18, 2018
- 2 min read
Updated: Apr 9, 2018
This week I had made a breakthrough in my workflow when I discovered I could bake ray-traced rounded edge normals to a tangent-based normal map. I have made another post detailing the workflow here. This has completely sped up my texturing workflow as it means I only have to bake the rounded edge from the low-poly, and can be used if the geometry is too small to chamfer, with convincing results. This is a screenshot of the desired effect in Blender 2.79:

I have also started to produce a piping modular kit that will be placed around the cockpit, to help create more complexity as well as a more interesting composition. I have modeled the piping in 3DSMax, however to place the bolts on the model and to add variation, I have chosen to use Blender 2.79. I have tried to do this in 3DSmax with the spacing tool, however the process of replacing different bolts takes too long and requires using the substitute modifier on each individual bolt. To place the bolts in Blender, I can randomly spawn bolts along a spline and change the random seed every time.
Here is what I've done so far:

I have also added a parallax trim material for the rims of the windows to add complexity and to make it look more realistic. I created the trim in Substance Designer using the basic shapes:

The trim in Substance Designer:

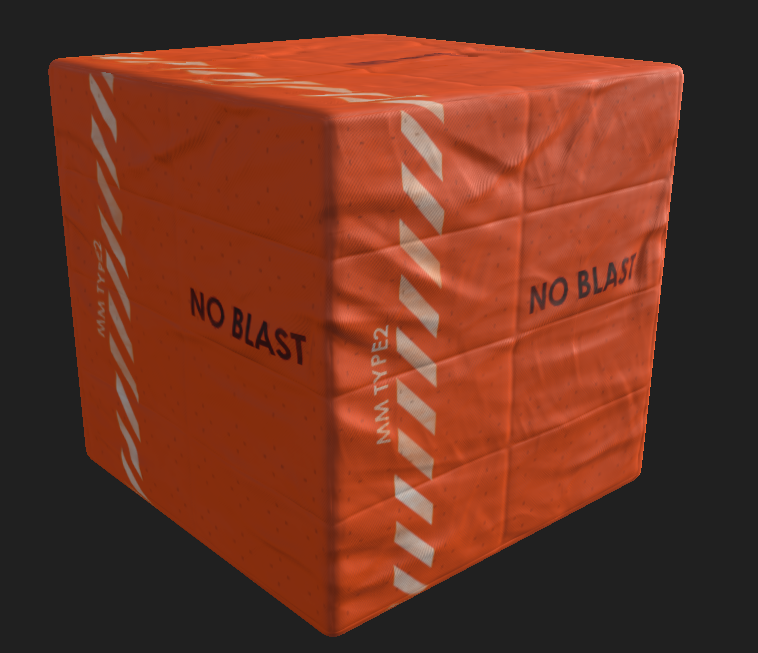
I have also created a window cover for the upper observation windows in order to hide the rest of the scene in the cinematic, as well as to break up the colour and create a nice indirect orange glow when it comes to baking the light. Here is the material in engine and in Substance Designer:


Comments